Installing and Configuring Microsoft LAPS: A Complete Guide – Part 1
Microsoft LAPS (Local Administrator Password Solution) is making a big splash in the Active Directory community by providing a simple, secure, and free solution to the age-old question of how to secure your Local Administrator accounts.
For occasions when login is required without domain credentials, password management can become complex. LAPS simplifies password management while helping customers implement recommended defenses against cyberattacks. In particular, it mitigates the risk of lateral escalation that results when customers have the same administrative local account and password combination on many computers.
Microsoft LAPS – Technet
Today we’re going to take a look at Microsoft LAPS while doing a fresh install and configuration in our internal development Active Directory environment, taking a look at any gotchas or unanswered questions along the way.
What is the Local Administrator Password Solution?
Simply put, Microsoft LAPS generates cryptographically secure passwords for the local administrator account on each computer and stores the new password on the computer object in Active Directory.
Specifically, part of the installation process extends your Active Directory schema to include two new values:
ms-Mcs-AdmPwd
Stores the current Administrator password.
ms-Mcs-AdmPwdExpirationTime
Stores the timestamp (measured in 100-nanosecond chunks that have elapsed since 1st January 1601 (GMT)).
A DLL (AdmPwd.dll) is installed on each client which runs a check against the timstamp when a Group Policy refresh occurs to see if the password needs to be refreshed.
Installing LAPS
We’ll now go over the (relatively) simple installation process for LAPS. Note that we’ve brought up a development domain specifically for this purpose, and would strongly recommend anyone following this do the same before making schema changes to your live Active Directory instance.
Step 1: Prerequisites
The current version of LAPS is 6.2 and is available from Microsoft’s website here.
(Note: Part 2 of this tutorial will also be going over the OverLAPS installation and configuration procedure as it provides a much more intuitive interface to LAPS, so we’ve grabbed the installer for that as well, to download the free trial go here)
You’ll also need a Domain Administrator or other account with permissions to modify the AD schema. The installation can be run from any domain joined computer or server.
Step 2: Installation
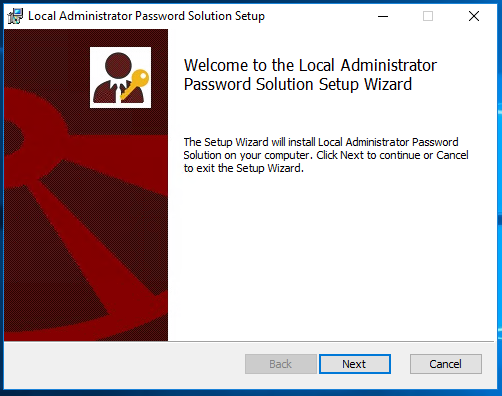
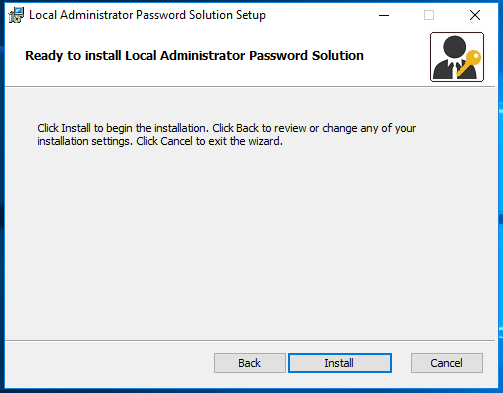
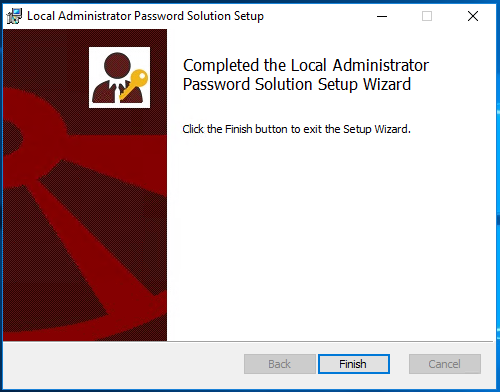
Launch LAPS.x64.msi (or LAPS.x32.msi if you’re in a 32bit OS).
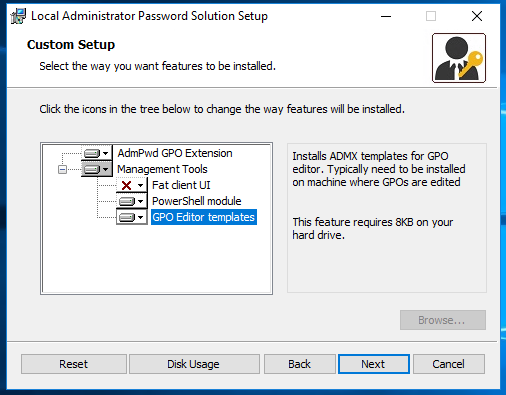
The features we’ve opted to install here are:
AdmPwd GPO Extension
Installs the LAPS client for managing this devices password (as a Group Policy Object extension so that it can run during GPO update).
PowerShell module
LAPS includes a series of PowerShell commands contained in a custom module. This component is required for extending the Active Directory schema, getting and setting Active Directory permissions on the LAPS attributes, and for the initial configuration of LAPS. It also offers functionality for getting the current administrator password for a device and triggering a refresh.
GPO Editor templates
Installs the ADMX for enabling and configuring LAPS through Group Policy.
We have opted not to install the “Fat Client UI” because we’ll be using OverLAPS as a user interface instead.
Step 3: Active Directory Schema
The next step is to extend the AD schema with the two new computer object properties. To do this, we’ll need PowerShell (running as a Domain Administrator or another user with the rights to modify the schema).
Start by importing the LAPS AdmPwd.PS module, which contains all the PowerShell commands we’ll need.
Next, run the command to update the AD schema. If everything goes to plan, you should see “Success” all the way down the Status column.


Step 4: Check Existing Permissions
Now before we do anything else we need to secure Active Directory to make sure only people/services we allow can access the new properties. We can do this from within PowerShell by using the command “Find-AdmPwdExtendedRights” with the root OU for your computer objects (in our case a container called “ManagedDevices”).

We can see from this that only SYSTEM and Domain Admins have access to these OUs, but if you notice any groups you don’t want here (for example “Authenticated Users”, which would indicate all logged in users have access), load ADSI Edit and find the root OU for your computer objects.
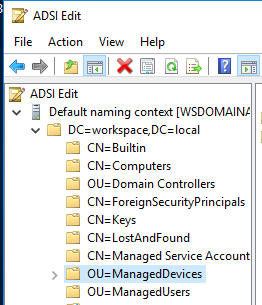
Right click this and go to Properties -> Security, then click the Advanced button. Select the “Authenticated Users” (in this example) principal and click Edit.
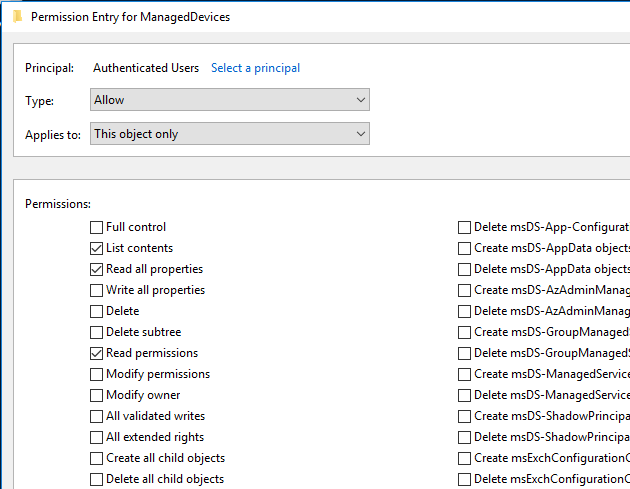
Make sure that “All extended rights” is unchecked. Then click OK to apply the change.
Step 5: Allow Computers to Record their Password Changes
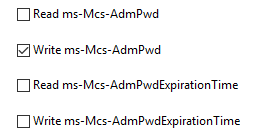
Now your computers will need to the rights to change the password and expiry values from the LOCAL SYSTEM account. Back in PowerShell, use the Set-AdmPwdComputerSelfPermission command to apply this permission to computers in your root computer OU.

This will add two new ACLs to the container for the “SELF” account, one for writing a new password, and another for reading/writing the expiration timestamp. Note that the account does not have read access to the password.
Step 6: Configure LAPS Group Policy
We go into greater detail on the individual policy settings in our post A Look at the Microsoft LAPS Group Policy Settings, but a brief overview of these are included below.
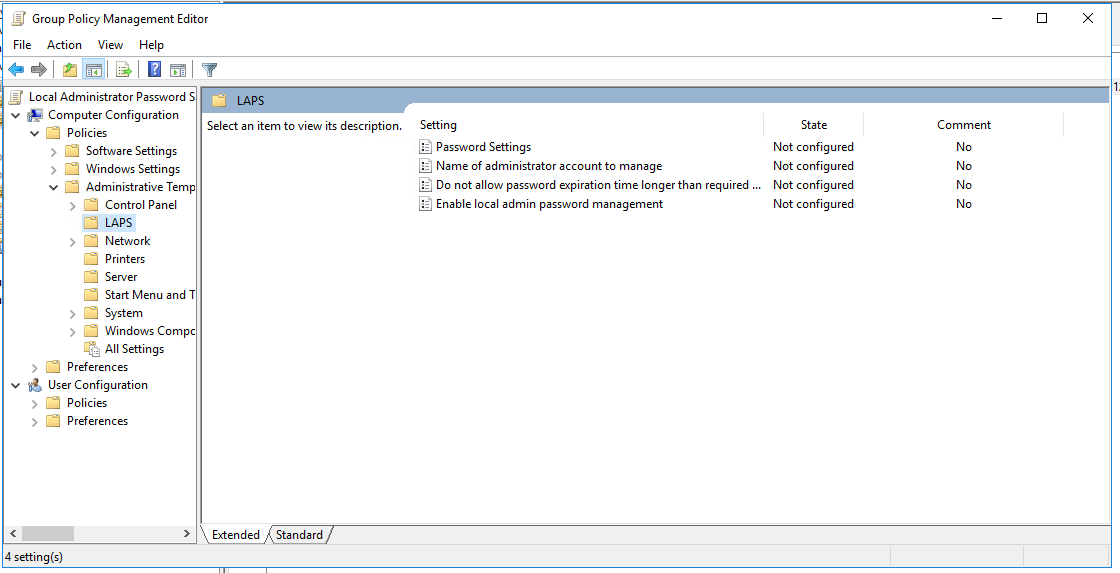
Define a new Group Policy Object linked to the root Computer container and navigate to Computer Configuration -> Policies -> Administrative Templates -> LAPS.
Password Settings
Allows you to configure the compexity, length and maximum age of LAPS managed passwords.
Name of administrator account to manage
If you’ve renamed your Local Administrator accounts, you can use this setting to specify the new name. (Take a look at our article Local Administrator: To Rename or not to Rename for our views on this).
Do not allow password expiration time longer than required by policy
Setting this tells LAPS that a password expiry longer than the one defined in “Password Settings” is not allowed (if being set manually). This prevents users with write access to the timestamp from setting it to a year in the future (for example) when the password policy clearly dictates it should reset every 7 days.
Enable local admin password management
The master switch for LAPS. Enabling this enables Local Administrator password management.
Step 7: Distributing the LAPS “Client”
The LAPS AdmPwd.dll CSE (Client-Side Extension) must now be distributed to all managed computers and registered. You have a number of options for achieving this, but we’ll concentrate on the two most common ways.
1. Group Policy

One simple method is to place the DLL on a share and have Group Policy copy the file to each computer, and use a startup script to register it.
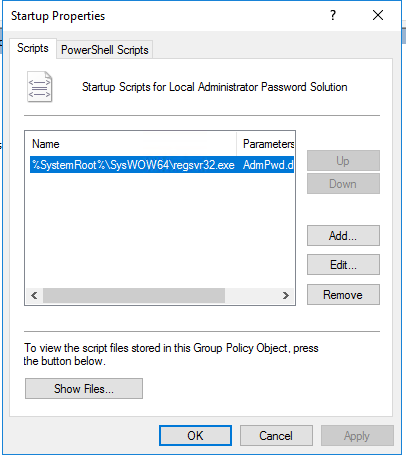
I’ve worked in environments before where the proliferation of complex GPOs caused massive slow-downs however; and as the DLL really doesn’t need to be registered on every system startup, this may not be the best solution.
2. MSI
You can also simply run the Microsoft LAPS .msi installer on your clients with the “/quiet” parameter. By default only the CSE is installed.
Your choice of how to do this depends very much on your environment: maybe you’d use SCCM or a similar technology. We opted to use our own Overcee suite though as I suppose you could say we’re experts in that technology.
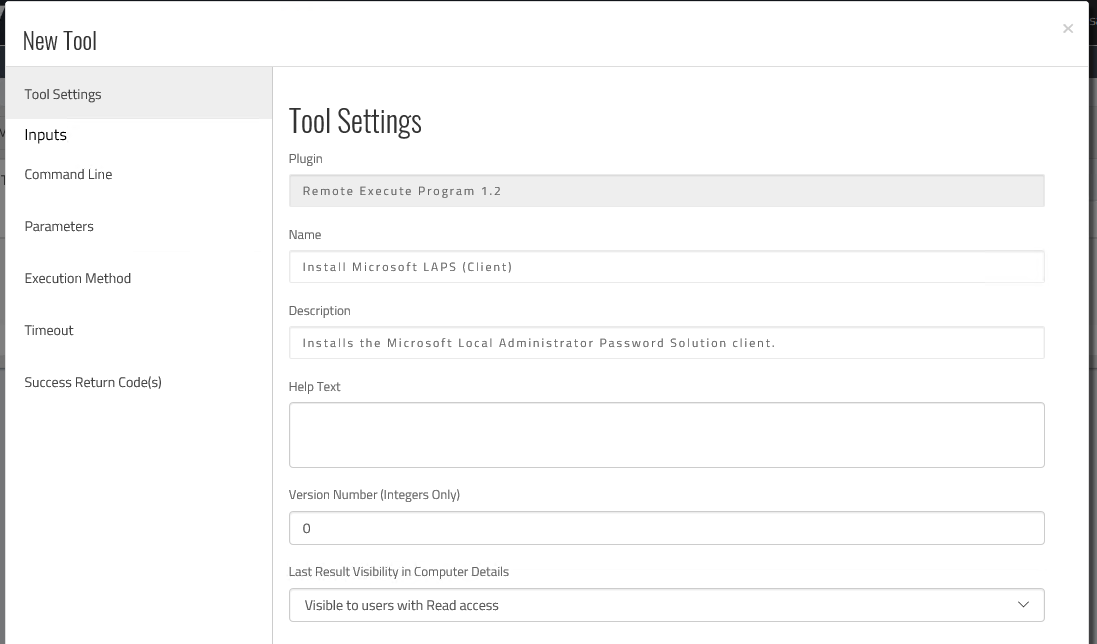
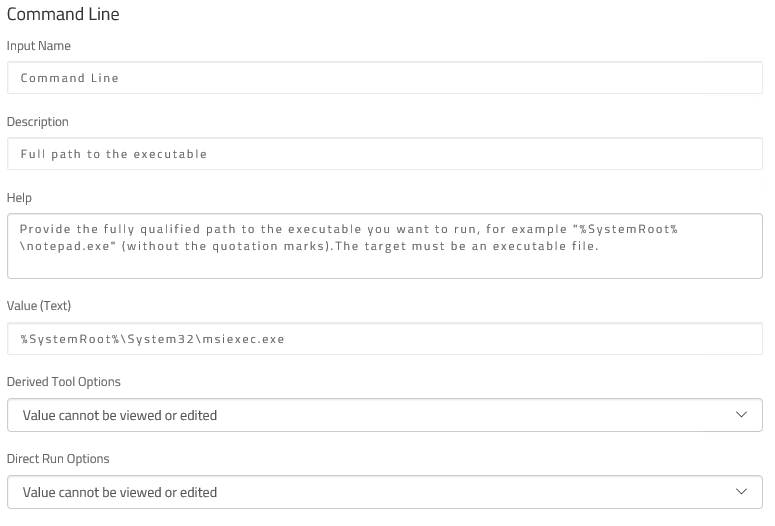
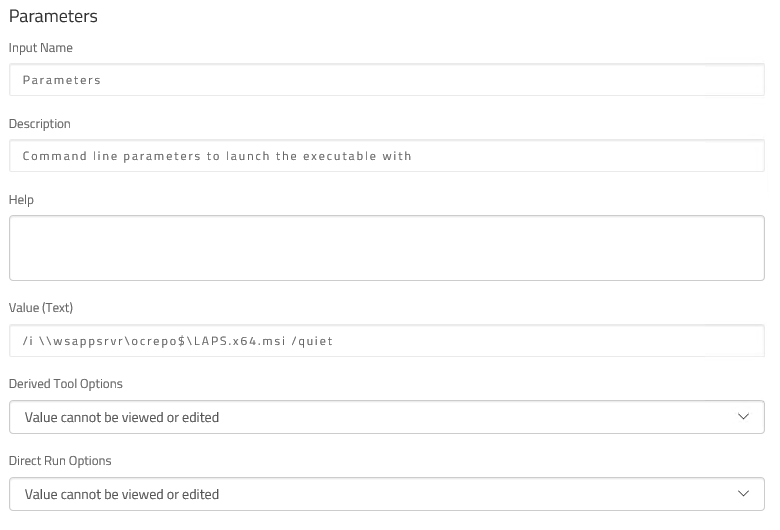
For a more detailed look at setting up a custom tool like this in Overcee, please see our post titled “Tutorial: Privilege Escalation Vulnerability Scan Tool and Overcee“.
Installation Complete
That’s it for Microsoft LAPS. Your computer’s administrator accounts may not change right away, but pretty soon you should see them starting to update.
What’s Next?
Continue to Part 2 of this tutorial where we look at setting up the OVERLAPS web interface for LAPS which offers the benefits of mobile friendly, simpler management, and features such as Self Service.
Like the article? Share with your friends:
 Int64 Software Ltd

